
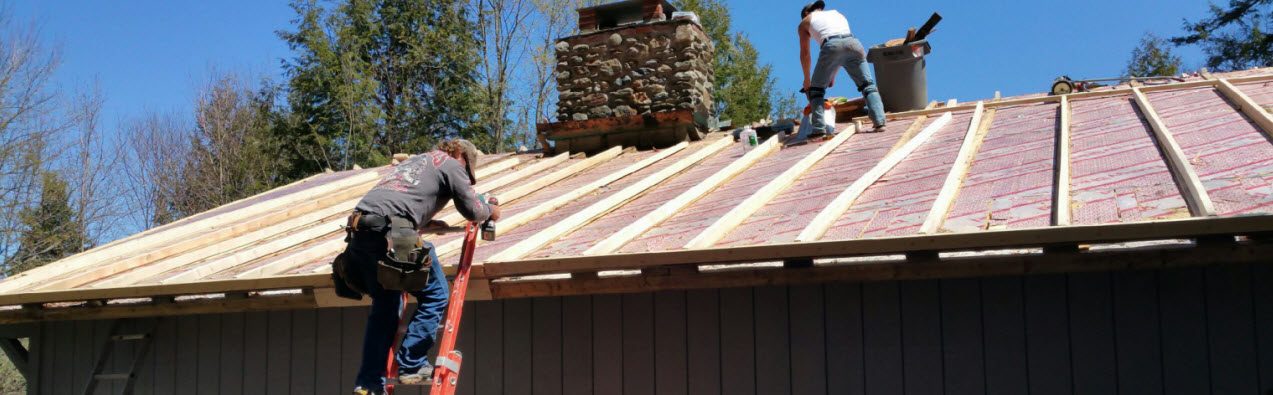

As spring approaches, people are considering the outdoor home improvement projects. To extend the outdoor living space, installing a simple, concrete patio may be all you feel you need. A basic concrete patio isn’t a difficult project if you have a little bit of experience in the field. In an effort to help you in your task, we at Matt Myette Landscaping would like to lists the steps to create your own basic concrete patio.
How to Build a Concrete Patio Step By Step
1) Prep Work. The area where you want your patio layout and designed needs to be excavated and transformed. Remove everything from the designated patio area. Loose rocks, plant life, trash, debris, and clutter all needs to be cleared away. Where it isn’t imperative for the land to be completely leveled, you do want the ground as evened out possible. Edge off the hills, fill in the holes, and so on.
2) Build-Out. The formation for your patio of will now need to build out. Start by using spray paint to outline the form of your patio. Utilize the bender boards to exaggerate to the shape if you are going for a patio with dramatic curves. About every foot apart, secure the desired form using stakes pounded into the ground.
3) Rock Interior. Between the ground level and the concrete, rocks are nestled. Pour the rocks before the concrete. Within the concrete forms, spread the rocks 2-3 inches above the ground with ¾ inch base rock.
4) Install Rebar. To prevent the concrete from cracking over time and to reinforce it, rebar is essential. Patios and other large areas are especially dependent on rebar. Lay out your rebar about every 2-3 feet apart in a grid pattern. Using metal rebar ties where they cross take your pliers and secure the rebar together.
5) Mix Cement with Water & Pour Concrete. Pour the concrete to the grid pattern sections you have created. As you pour a section, smooth it out to the form and ensure it is evenly distributed. Perfect tools for the smoothing of the concrete are trowels and concrete floats.
6) Concrete Dye. In the event you want the concrete tinted, apply the concrete powder dye after the concrete has slightly dried. Much like when you are tossing a pair dice, toss handfuls of powder throughout the concrete. Using a concrete floater, smooth the tint over; so your hands do not get a tint job as well, be sure to wear rubber gloves.
7) Texturizing Concrete. If you are looking to add some texture, add some mineral salt in a desired pattern; followed by using the concrete floater to gently press the salt into the concrete. Allow the concrete to dry over night.
8) Concrete Form Removal. Remove the concrete forms once the concrete is fully dry. Be sure to read the label on the specific mixture of concrete to determine the recommended drying time of the concrete. To reveal the softly porous texture, sweep away the salts; be sure to avoid sweeping the salt into plants though.
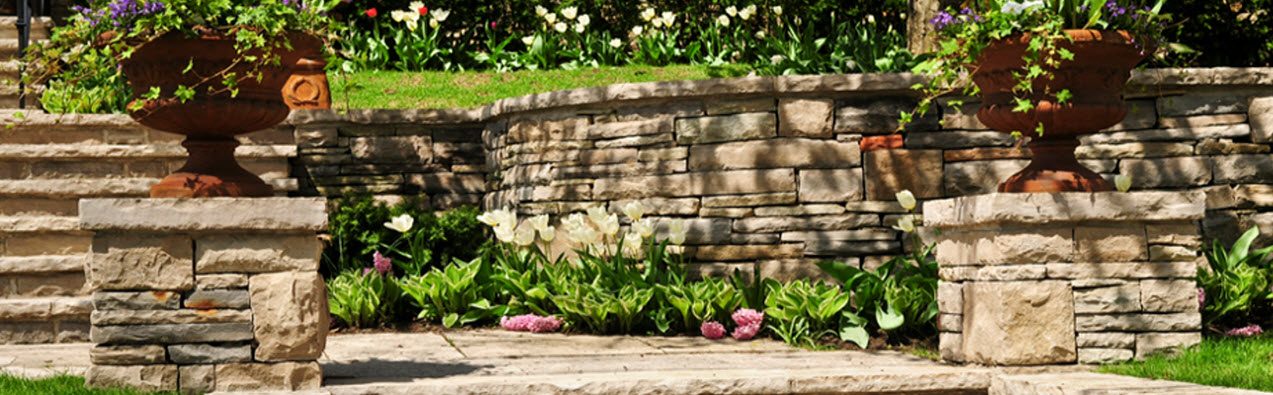
Hardscape Installation & More in Greater Morrisville, Stowe & Lamoille County, Vermont
Installing a patio is very time consuming and laborious, especially if you are doing the work completely alone and you have little experience. Instead, solicit Matt Myette Landscaping and get the most from your patio with our skilled artisans, which only save you time and in the long run, money. Contact us for a consultation today!